12/12/25 Newsletter - Chasing the Light (4/6)
- Max Flores

- Dec 19, 2025
- 3 min read
In our quest to make paintings about the way light affects perception, we have discussed light microscopy and different ways we can illuminate a specimen. Last week, we have seen what sorts of specimens we can observe. Now it's time to photograph them!
The Setup
There are many ways in which one can take pictures using the microscope, the 3 most popular methods being: using a dedicated microscope camera, a DSLR camera or a mobile phone.
I was convinced my phone would be a good choice when I saw the results @desi_morrison was able to obtain with an iPhone.

I will be using my iPhone 13 Pro for all pictures. With a phone adapter and a little adjustment, it is ready to go!
Photographing Plants
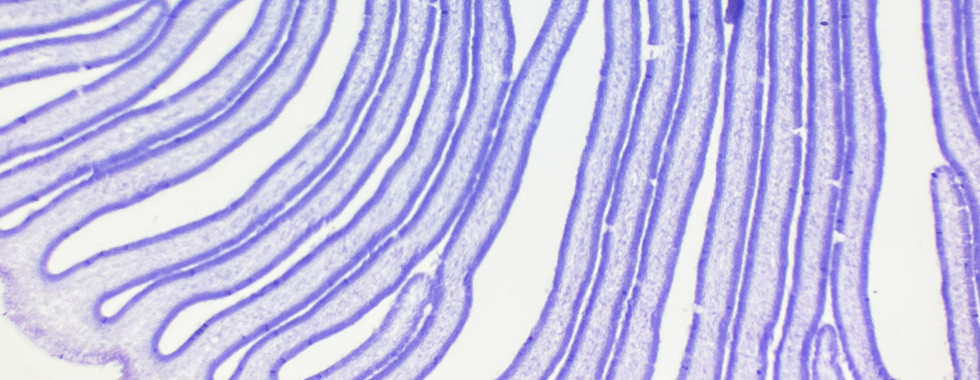
If you just pick up a leaf and place it on a microscope slide, this is what you'll see:

While some detail can be seen, slicing it very thin would allow us to see much more of its structure. There is a specialized tool for that, called microtome. However, decent results can be obtained with a razor blade.
I used a pair of tweezers to hold the specimen and and x-acto knife to cut it. The most challenging part is making the specimen the same thickness throughout. Below are some of the stunning structures I found on a petiole, a leaf, and a twig.


Photographing Crystals
Crystals should be very easy to prepare, all you need is distilled water and a substance like Vitamin C, tartaric acid or table salt. Then just mix a tiny amount of your substance of choice with a few milliliters of distilled water, put in on a glass slide and wait for it to dry.
However, getting clean, aesthetically pleasing crystals has been challenging. The best results I have obtained so far were using Vitamin C.

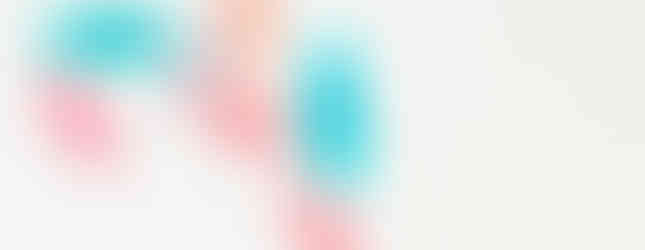
When photographed under regular brightfield, the crystals look like this:

In order to get the psychedelic colors often seen in pictures of crystals, a little help from polarizing film is needed. More details on how to set it up here.

They look much better this way! It is also possible to have fun growing crystals without a microscope. Salt crystals, for example, can be grown to a few centimeters!
Photographing Pre-Prepared Slides
Although photographing pre-prepared slides doesn't come with the satisfaction of making something yourself, they are nonetheless beautiful. The professionally stained specimens make it much easier to observe certain structures.


The Final Choice
After exploring so many possibilities, the task of choosing a "model" for my paintings remains unfulfilled. During the process, I ended up enjoying photomicrography for its own sake. But there is one specimen for which I feel the pictures did not do it justice...
Some attentive readers might have seen this little guy on the "photomicrography" session of my website, although he is not there anymore. Next week, you'll meet him when we finally get started on making paintings based on photomicrographs.
What's Next?
So far we have discussed:
In the following newsletters, we will go over:
Making paintings based on the photographs
Results
If you have any questions, send an e-mail to contact@maxflores.art.
See you next week!
References
Photomicrograph equipment: https://www.microbehunter.com/connecting-a-camera-to-a-microscope/
Phone Adapter: https://www.microbehunter.com/finally-a-good-smartphone-adapter-for-a-microscope/
iPhone Photomicrographs: https://www.rotiferstudios.com/microverse
Slide Preparation: https://www.opticscentral.com.au/blog/microscope-slide-preparation-guide/?srsltid=AfmBOorA7IqjPqGbZzg9J_qDbj5gtBImGgG6686_1J529sTbScz3jSz9
Huge salt crystals: https://crystalverse.com/sodium-chloride-crystals/
Coca-Cola Crystals: https://www.youtube.com/watch?v=7Q5fYQhSfvs
Making crystals: https://www.naturettl.com/making-and-photographing-crystals-with-a-microscope/


Comments